


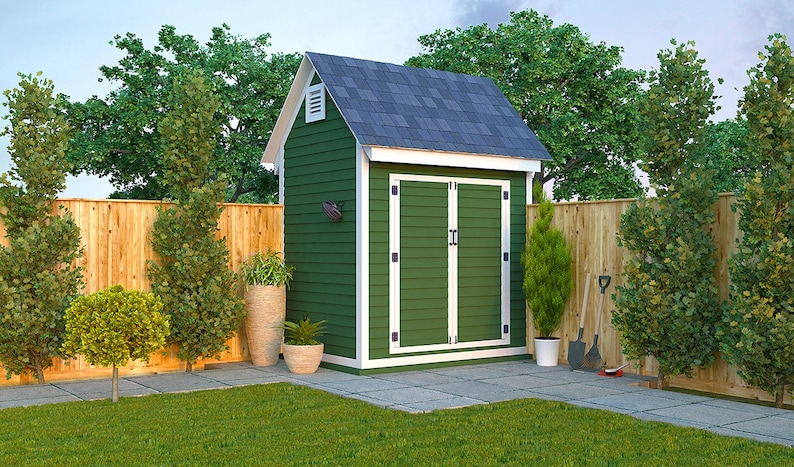
How to Create a Sturdy 6x8 Gable Shed: DIY Plans and Tips
Building your own shed is a rewarding project that saves you money and allows for customization. This guide walks you through constructing a sturdy and practical 6x8 gable shed. We'll cover everything from planning and material selection to construction techniques, ensuring you have a solid foundation for years of reliable storage.
Planning Your 6x8 Gable Shed
Before you grab a hammer, careful planning is crucial. Determine the shed's exact location, considering accessibility, sunlight, and proximity to utilities. Check local building codes and obtain any necessary permits. Sketch a detailed plan, including dimensions, door placement, window placement (if desired), and the type of roofing material you'll use. Consider the shed's purpose â€" will you primarily store gardening equipment, tools, or something else? This will influence your internal shelving and organization needs.
Choosing Your Materials
Selecting high-quality materials ensures longevity. Opt for pressure-treated lumber for the foundation and floor joists to resist rot and insect damage. For the walls and roof, consider using standard dimensional lumber (2x4s or 2x6s, depending on your desired strength and snow load). Choose durable roofing material, such as asphalt shingles, metal roofing, or even recycled plastic roofing. Don't forget about fasteners â€" galvanized nails and screws are essential for weather resistance. Finally, acquire sufficient concrete for your foundation if you choose a concrete base.
Building the Foundation
A solid foundation is paramount. You have several options: a simple gravel base, a concrete slab, or concrete piers. A gravel base is the quickest and cheapest, suitable for lighter sheds on well-drained soil. A concrete slab offers superior stability and is ideal for heavier loads. Concrete piers are a compromise, providing good stability without the cost and effort of a full slab. Regardless of your choice, ensure your base is level and large enough to support the shed's weight.
Constructing the Frame
Begin by building the floor frame, attaching the joists to the foundation using appropriate fasteners. Next, erect the wall frames, ensuring they are plumb and square. Carefully measure and cut all lumber for accurate construction. Use a level and square to regularly check your work throughout the process, correcting any discrepancies immediately. Once the walls are complete, carefully lift them into place and secure them to the floor frame. Construct the roof trusses or rafters according to your chosen design. Securely attach them to the top plates of the wall frames.
Adding the Roof and Exterior
With the frame complete, install the sheathing â€" OSB (Oriented Strand Board) or plywood â€" over the roof trusses to create a solid base for the roofing material. Apply the chosen roofing material according to the manufacturer’s instructions. Afterward, wrap the exterior walls with your chosen siding material, ensuring proper overlap and sealing to prevent water damage. Consider adding a weather barrier under the siding for extra protection.
Finishing Touches
Install the doors and windows, ensuring they are properly sealed and weatherproofed. Add any desired interior shelving or features. Apply a coat of exterior paint or stain to protect the wood from the elements and enhance the shed's aesthetic appeal.
Safety Precautions
Always prioritize safety. Wear appropriate safety gear, including safety glasses, work gloves, and hearing protection. Use caution when working with power tools and follow all manufacturer's instructions. Work with a helper when lifting heavy materials. Check your work frequently to ensure stability and prevent structural issues.
Building a 6x8 gable shed is a challenging but manageable DIY project. By following these detailed steps, paying close attention to detail, and prioritizing safety, you can create a sturdy and functional storage solution tailored to your specific needs.


No comments:
Post a Comment
Note: Only a member of this blog may post a comment.